よくあるアプリのチュートリアルを作ってみた
使ったライブラリ
こんな動きする感じ
実装
チュートリアル用のイラストを用意してREADMEの通り実装
Peperomia/Page.tsx at master · wheatandcat/Peperomia · GitHub
import React, { Component } from "react";
import { StyleSheet, View, Text, Image } from "react-native";
import { Ionicons } from "@expo/vector-icons";
import AppIntroSlider from "react-native-app-intro-slider";

interface Props {
  onDone: () => void;
}

const styles = StyleSheet.create({
  buttonCircle: {
    width: 40,
    height: 40,
    backgroundColor: "rgba(0, 0, 0, .2)",
    borderRadius: 20,
    justifyContent: "center",
    alignItems: "center"
  },
  image: {
    width: 320,
    height: 320
  }
});

const slides: any = [
  {
    key: "step1",
    title: "予定を管理",
    text: "ペペロミアは予定管理アプリです\n簡単な操作で予定を作成",
    image: require("../../../img/intro_home.png"),
    imageWidth: 250,
    titleColor: "#fff",
    textColor: "#eee",
    backgroundColor: "#59b2ab"
  },
  {
    key: "step2",
    title: "予定を整理",
    text:
      "タイトルをつけると自動でアイコンを設定\n見やすい予定表を作成しよう!",
    image: require("../../../img/intro_plan2.png"),
    imageWidth: 250,
    titleColor: "#fff",
    textColor: "#eee",
    backgroundColor: "#ffa500"
  },
  {
    key: "step3",
    title: "予定を共有",
    text: "作成した予定は\nブラウザから誰にでも共有可能",
    image: require("../../../img/intro_share.png"),
    imageWidth: 300,
    titleColor: "#fff",
    textColor: "#eee",
    backgroundColor: "#ACBC10"
  },
  {
    key: "step4",
    title: "ようこそ!!",
    text: "ペペロミアを使って予定を作っていこう!",
    image: require("../../../img/intro_welcome.png"),
    imageWidth: 200,
    titleColor: "#fff",
    textColor: "#eee",
    backgroundColor: "#59b2ab"
  }
];

export default class extends Component<Props> {
  _renderNextButton = () => {
    return (
      <View style={styles.buttonCircle}>
        <Ionicons
          name="md-arrow-round-forward"
          color="rgba(255, 255, 255, .9)"
          size={24}
          style={{
            backgroundColor: "transparent"
          }}
        />
      </View>
    );
  };

  _renderDoneButton = () => {
    return (
      <View style={styles.buttonCircle}>
        <Ionicons
          name="md-checkmark"
          color="rgba(255, 255, 255, .9)"
          size={24}
          style={{
            backgroundColor: "transparent"
          }}
        />
      </View>
    );
  };

  _renderItem = (props: any) => (
    <View
      style={{
        backgroundColor: props.backgroundColor,
        height: "100%",
        paddingTop: 150
      }}
    >
      <View
        style={{
          paddingTop: 70,
          height: 300,
          paddingLeft: 10,
          alignItems: "center",
          justifyContent: "center"
        }}
      >
        <Image
          source={props.image}
          style={{ width: props.imageWidth }}
          resizeMode="contain"
        />
      </View>
      <View
        style={{
          justifyContent: "center",
          paddingLeft: 50,
          paddingTop: 50
        }}
      >
        <Text
          style={{
            fontSize: 25,
            fontWeight: "600",
            color: props.titleColor
          }}
        >
          {props.title}
        </Text>
      </View>
      <View
        style={{
          justifyContent: "center",
          alignItems: "flex-start",
          paddingLeft: 50,
          paddingTop: 20
        }}
      >
        {props.text.split("\n").map((val: string) => (
          <Text
            style={{
              fontSize: 16,
              color: props.textColor,
              paddingBottom: 5
            }}
            key={val}
          >
            {val}
          </Text>
        ))}
      </View>
    </View>
  );

  _onDone = () => {
    this.props.onDone();
  };

  render() {
    return (
      <AppIntroSlider
        slides={slides}
        onDone={this._onDone}
        renderItem={this._renderItem}
        renderDoneButton={this._renderDoneButton}
        renderNextButton={this._renderNextButton}
      />
    );
  }
}
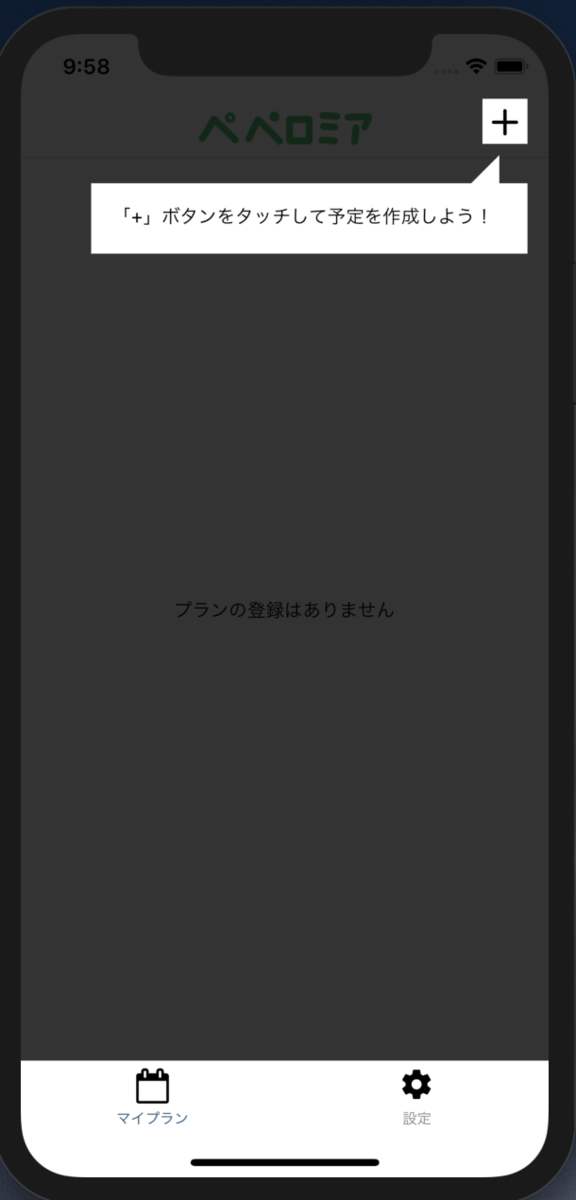
Tooltipを追加
ついでに初めて予定を作成する時の導線も分かりづらかったのでTooltipを追加
こんな感じ

吹き出しの三角形部分は↓を参考に作成
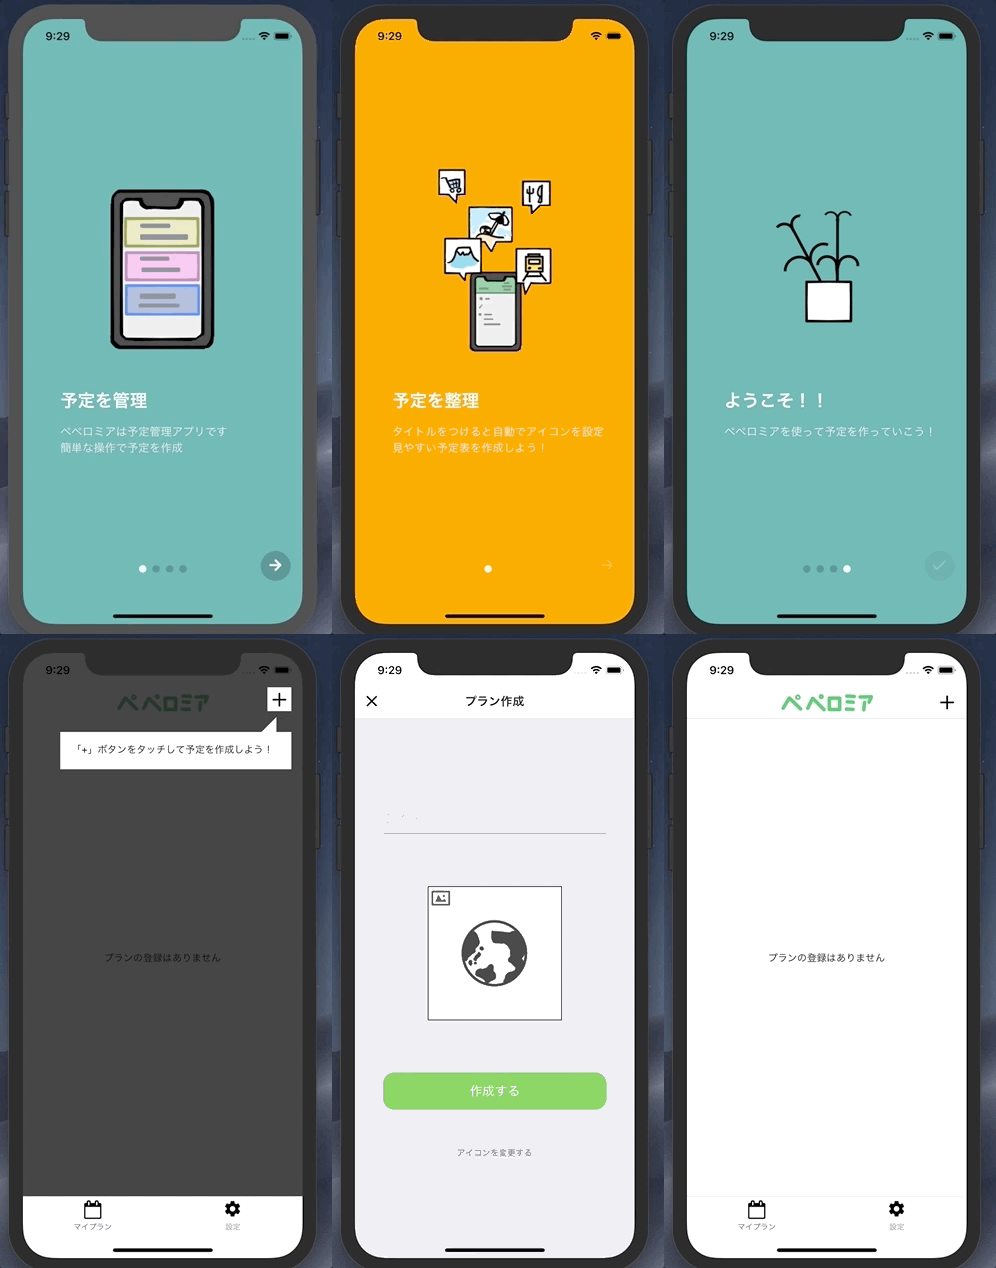
画面
通しでやると、こんな感じになった

おわり
次はAndroidのstyleを見ていこうと思う
